THE BEST WAY TO EXAMINE A DIAMOND
6 TIPS TO VIEWING AND EXAMINING A DIAMOND
This post contains affiliate links. If you use these links to buy something I may earn a commission. Thanks! As an Amazon Associate I also earn from qualifying purchases.

People love to look at diamonds.
I love showing them.
But there are 6 basic steps to examining a diamond. Things that could make or break a potential diamond sale.
It’s MUST-DO tricks that can not only show you exactly what you’re buying, but also keep you from getting ripped off as well.
Because the more knowledge you have about the diamond you’re buying, the better your buying decision.
So let’s take a closer look at these 6 important steps and learn how to examine a diamond the right way.
1) Use a Loupe or a Microscope
Diamonds are small, but they have the biggest accumulated wealth of any object their size. Meaning, it’s hard to see any great detail with the bare eye.
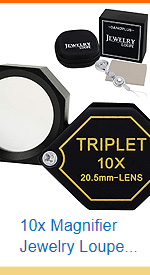
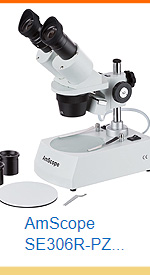
You’ll need yourself a magnifying glass, preferably 10x (a microscope or a jeweler’s loupe… and they even sell jeweler’s loupes for the iPhone too). Diamonds and the 4c’s are all graded under 10x power. 10x allows you to see the stone, all of its flaws, inscriptions, facets and surface graining characteristics (some people like to use 30x to really see the stone in great detail).
Without magnification (and using a microscope really is the best way to see them), most diamonds would look the same side by side. So seeing them under tight scrutiny separates the good from the bad, the best from the worst, the expensive from the cheap.
2) View it Clean
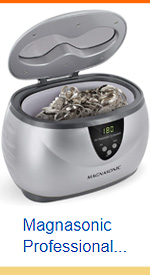
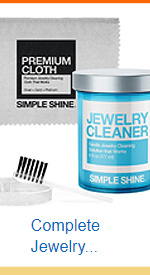
You MUST, MUST, MUST clean the diamond first! For any kind of debris, dirt, dust, hair, or particles can not only hinder light, but make it look dark, dull, and mistaken as flaws and imperfections. Clean it with an ultrasonic cleaner or a steam cleaner. Make sure it’s perfectly clean so everything you’re seeing is the diamond, and nothing but the diamond.
3) View it Loose
Mounted diamonds are tough to view. The mounting gets in the way (and it can also alter the true color of the stone). The prongs cover up flaws, chips, cracks, carbon spots… You’ll never fully know what’s hidden underneath that chunk of metal (what the jeweler doesn’t want you to see…), until you see it naked.
View it loose (if you can). For loose and unmounted allows you to see the entire stone, naturally, without any obstruction or mask.
4) Use Tweezers PLEASE!
Don’t hold the diamond with your fingers.
NOPE! Never!
Fingerprints leave marks, oils, wavy lines across the surface… They show up under a microscope. Don’t do it! Use diamond tweezers only, and carefully clip the sides of the girdle (gentle; you don’t want to harm the delicate edges). Not only will tweezers present the diamond well, but they’ll allow you to view the diamond, tip it in the light, secure the stone (keep it from flying across the room). Locking tweezers are the best tweezers to use!
5) View it from all Sides
Locked in the tweezers, rotate your hand around to see the stone from all angles, side, and even upside-down.
View the inscription on the girdle (if it has one), view the stone for any chips, cracks, broken culets (very point of the diamond). Make sure you don’t see any circles, holes, or tubes in the pavilion (base), where laser drilling or fracture filling could have occured (called diamond enhancements, and they must be disclosed at the time of the sale, or otherwise, it’s FRAUD!)
Check the diamond everywhere; The flaws and the color of the stone are best seen from the side or bottom (not distracted by facets, brilliance, or light).
Don’t be afraid to reposition the tweezers to get a better view. Check the girdle and surface (seeing the light reflecting off the facets) of the stone as well (you’ll be able to see if the surface is flat, or if it’s uneven, wavy, or rippled like waves).
6) Light Light Light
The more light you use, the easier it will be to see inside the stone. This sounds obvious, but it’s true. Make sure when you’re looking at diamonds, you have plenty of light to illuminate your object.
Also meaning, if you’re using a hand-held jeweler’s loupe, lean yourself back slightly so your own shadow doesn’t fall over the stone.
The best microscopes to use are the ones that have extra lighting on the sides and bottom (so all the imperfections stand out)…
There you have it…
The best 6 ways to examine a loose certified diamond.
And the BEST place to Buy one?
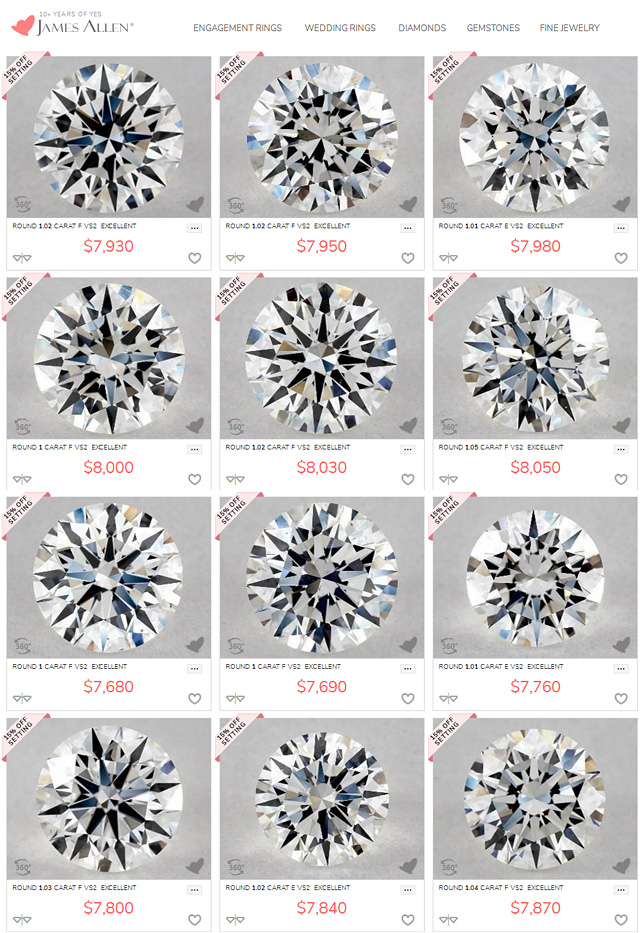
James Allen has the best deals (compare their prices with mall stores, you’ll be astounded), the best selection, and you’ll be able to see them loose and magnified from all sides (and you’ll see the REAL stone, and not just a sample stock photo like other websites show you).
(Plus, if you use my special code “ringsum” at the time of checkout, they’ll give you 10% off the mounting! [not good with any other discount or promotion])
So Happy Shopping!
And happy viewing.
Cheers! :)





Leave a comment